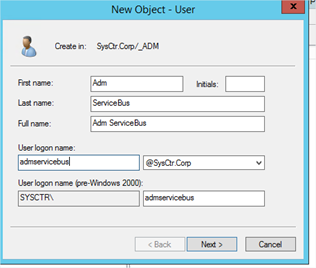
In this blog post we are going to look closer on how to install the Windows Service Bus and integrating it in Azure Pack. I have build my setup in a Lab with just 1 server called MS-BUS01. Ok, lets start. First we need to create a Service Account in AD:
The Service Bus is the same install as other Windows Azure Pack components and relies on the Web Platform Installer (WebPI)
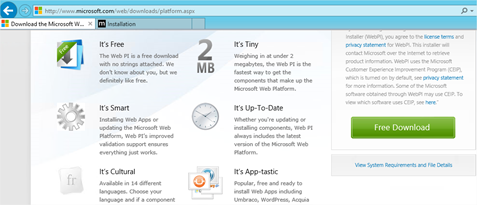
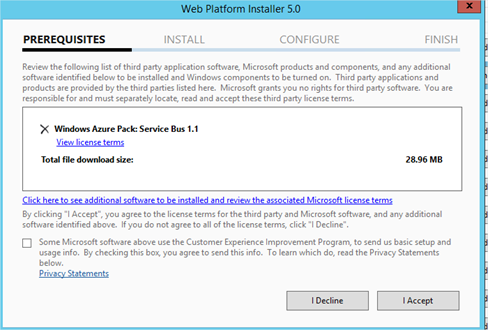
Download it from here. Once it is installed type in the search box Service Bus. Select Windows Azure Pack: Service Bus 1.1
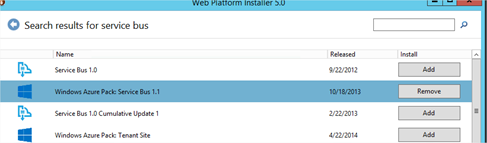
Click on install to start the installation and accept the license agreements.
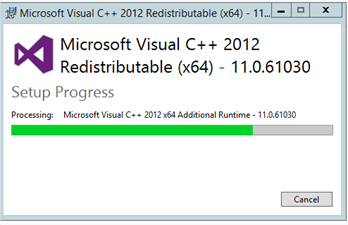
You might encounter the same error as I did in this screen:

Found out that you need to have this update installed on your server: http://www.microsoft.com/en-gb/download/details.aspx?id=30679
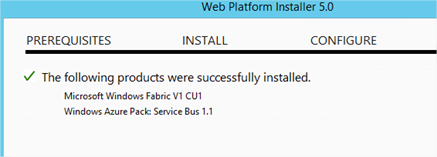
Afterwards install the service bus again and it will be successful:
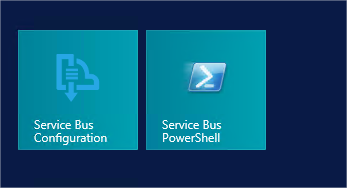
Next we need to configure the Service Bus. Click on the Service Bus Configuration icon:
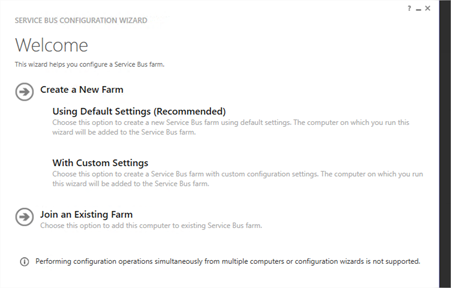
We will create a new farm:
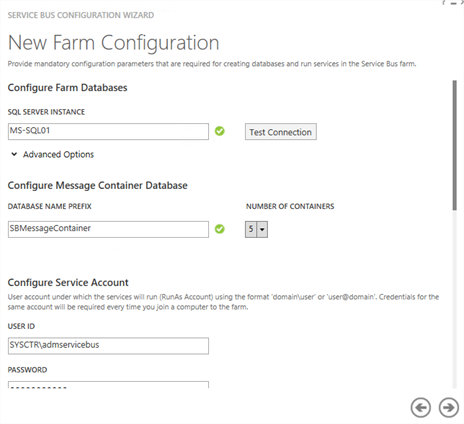
Enter the SQL Server name, specify the number of containers you want to use and the name prefix you want to use for the Database. In the configure service account configure the runas account we created at the beginning of this post.
Specify a key that will be used when you want to extend the farm with new servers. This is then needed to add a server to the farm.
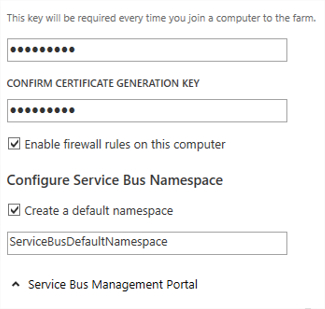
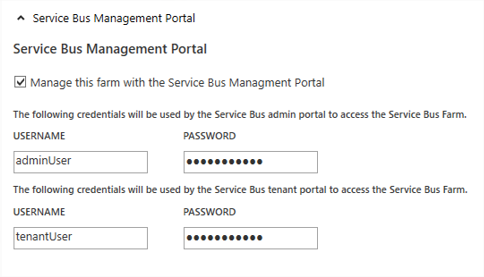
If you want to add this Service bus to Azure Pack check the box “Manage this farm with the Service Bus Management Portal” Then specify an admin user and a tenant user.
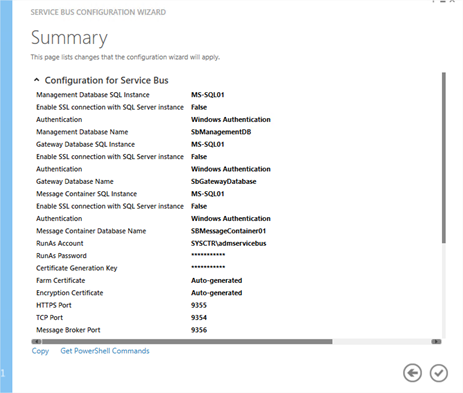
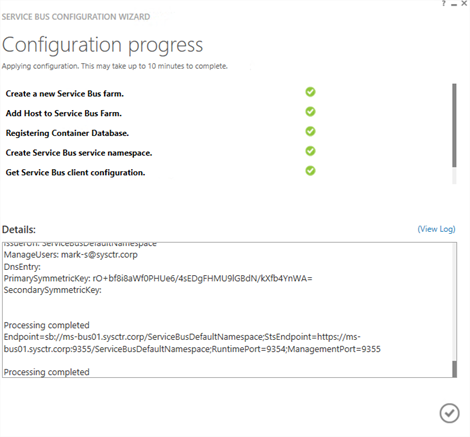
In the summary check if all settings are correctly and klik the checkmark
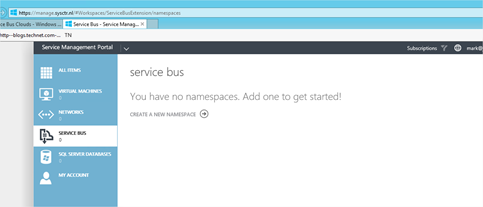
When the installation is finished we need to add the Service Bus to Azure pack. Login to the admin portal and click new, choose Service Bus Cloud and enter the Friendly Name, URL, Admin User and the Tenant user information. Then click on connect. When the Service Bus is connected you can add this to a new or existing plan. 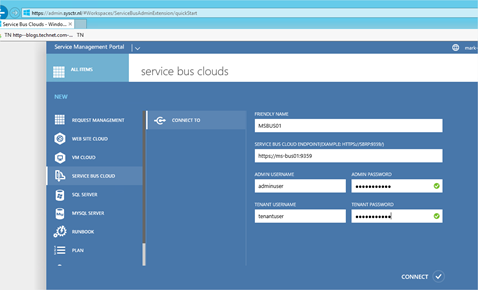
When the tenant subscribes for the plan it gets the Service Bus Icon in their Tenant portal: