
I updated last week my System Center and Azure Pack lab to CU4. I noticed that they have integrated the Azure Site Recovery into VMM and Azure Pack. In this post I will describe in a step by step guide how to enable the Site Recovery feature in Virtual Machine Manager. You need to have a Microsoft Azure subscription in order to enable it. When you do have a subscription enter the Azure Portal and create a new Recovery Service, Choose Site Recovery Vault and choose a region and a name:

After you have hit the create vault button it will start creating the vault in the background for you:

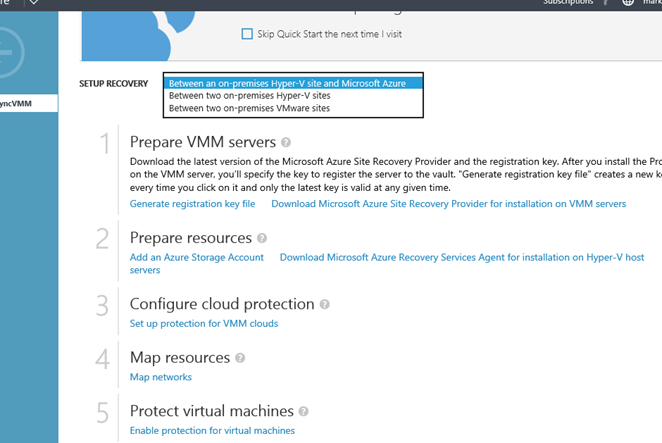
Choose a setup recovery so you can easily see the steps needed and download all pre-requisites for VMM and Hyper-V. First generate a registration file key. You need this on your Virtual Machine Manager Server and your Hyper-V Hosts. Next download the “Azure Site Recovery Provider for installation on VMM servers” and also “Azure Recovery Services Agent for Hyper-V”:


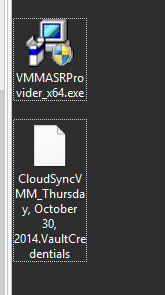
Copy the VMMRASProvider and the vaultcredentials to the VMM server
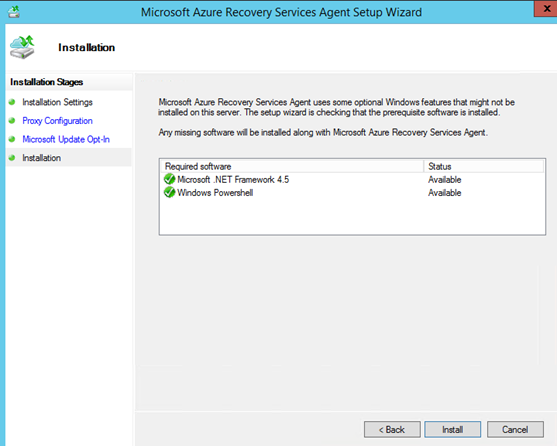
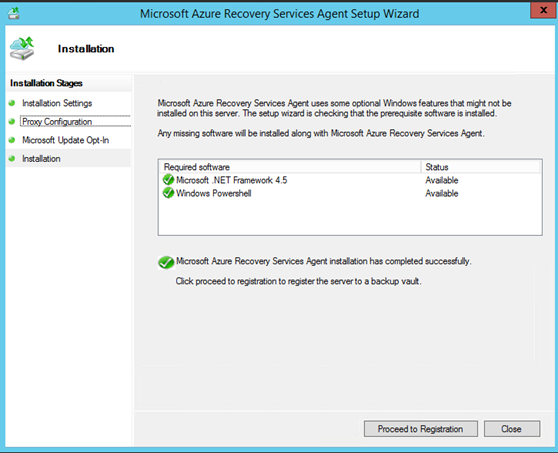
Start the VMMRASProvider installation by executing the file. After the installation it will stop the VMM Server services, so make sure you are allowed to have downtime. Check the checkbox and click install:

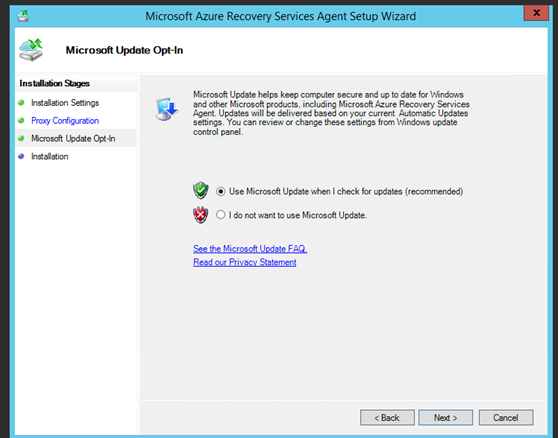
Configure the internet connection requirements that apply to your environment:

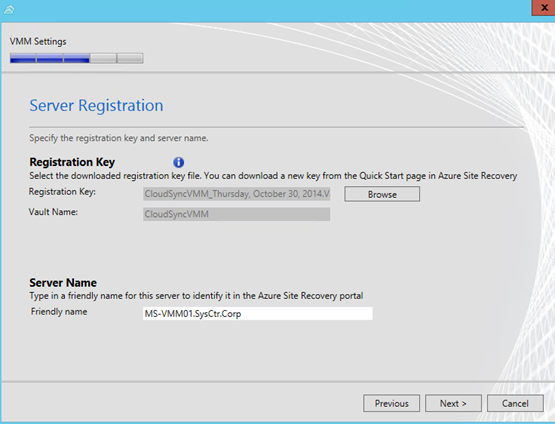
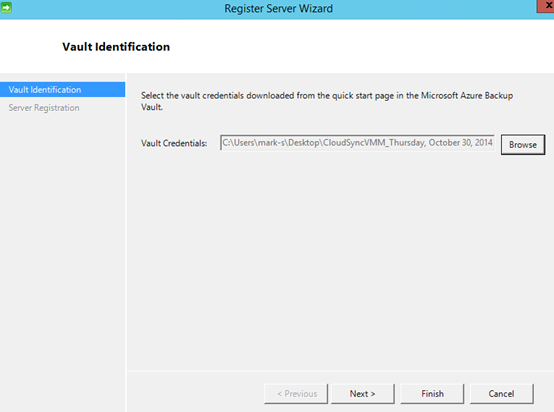
On the registration page browse to the location where you saved the vaultcredential. Next choose a friendly name to recognize the VMM server in Azure.
In “Initial cloud metadata sync” select whether you want to synchronize metadata for all clouds on the VMM server with the vault. This action only needs to happen once on each server. If you don’t want to synchronize all clouds, you can leave this setting unchecked and synchronize each cloud individually in the cloud properties in the VMM console.
In “Data Encryption you specify” a location to save an SSL certificate that’s automatically generated for data encryption. This certificate is used if you enable data encryption for a cloud protected by Azure in the Azure Site Recovery portal. Keep this certificate safe. When you run a failover to Azure you’ll select it in order to decrypt encrypted data.

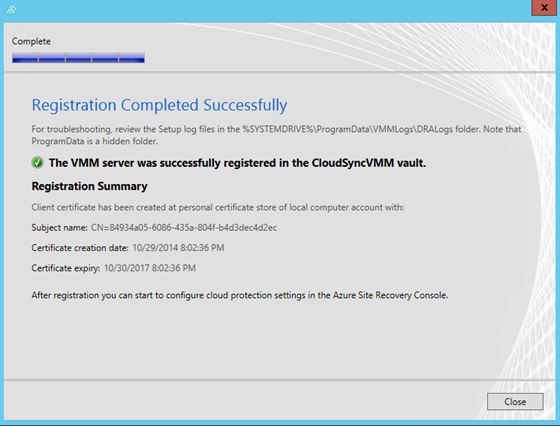
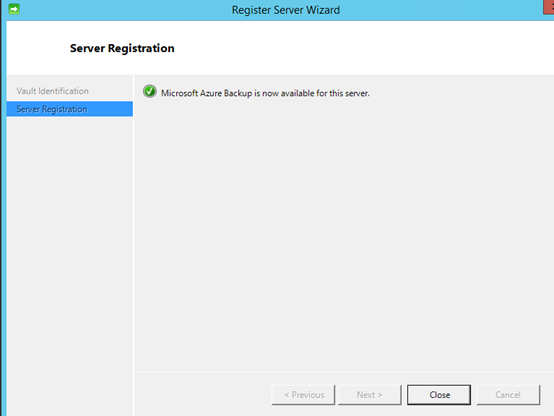
And the registration is finished:
Safe the exported certificate on a safe location on the network.

Now go to your hyper-v servers and foreach Install the protection agent:

It is a next, next finished run actually with at the end the registration by selecting vaultcredentials to register the Hyper-v Server in the Azure Portal.


Before we can configure Protection in VMM we need have storage account in Azure. Be aware, it has to be in the same region as you created the vault and it has to be Geo-redundant:

Hit create and it will create the storage account in background for you:

Next step is to configure a Virtual Network. If we want to start the replicated Virtual Machines in Azure we also need to have connectivity. I created a test network that matched my VM Network in VMM. In Azure go to Virtual Networks and create a new virtual network:
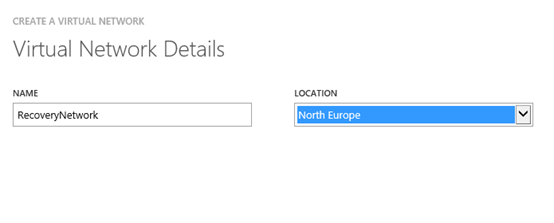
Create an Azure network for the recovery VM to connect to:

Specify a name for you network and the location:
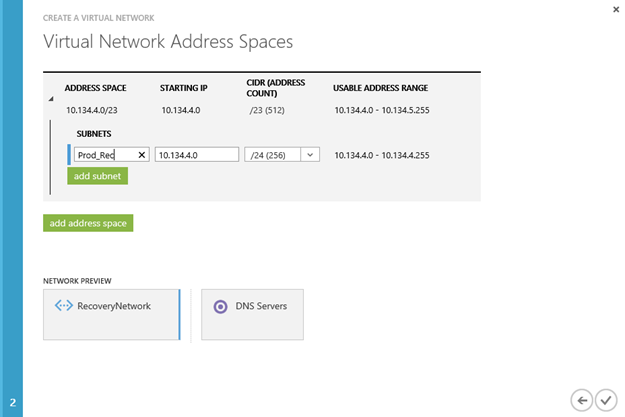
In the next page I configured my DNS server and choose next

Here I specify the same network as my virtual network in VMM
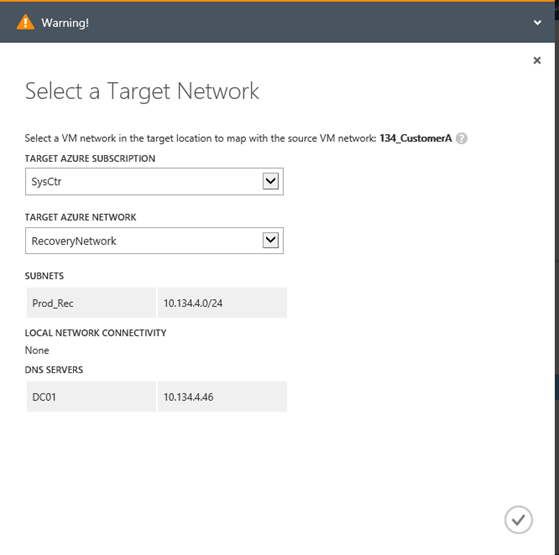
When finished go back to Site Recovery and under resources we can now map the network with a network from VMM, Choose the on premise network that matches the just create network in azure and choose map:

I got a warning because I believe that in Azure my network as a range is 10.134.4.0/23 and their below I create 1 subnet with 10.134.4.0/24. The warning tells me that it will place the machine in the first available subnet.

When you take a look under protected items you may find all the clouds you have in VMM or, if you choose not to sync metadata in the VMM Server Provider agent, the clouds you have selected in VMM to be available in the Azure Portal:

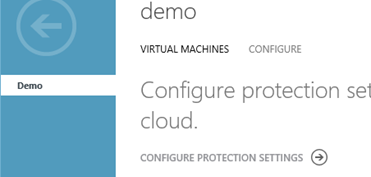
Click on the Cloud you want to protect and choose Configure Protection Setttings:
Configure a target and choose if you want to encrypt the stored data. The connection during replication is encrypted, but the stored virtual machine is not. In order to enable it choose encrypt stored data. When you do a failover you need to have the certificate stored earlier on a safe location to decrypt the storage and do a failover.

When you scroll down you need to specify the copy frequency and the retain recovery points. Hit save on the bottom to save the settings

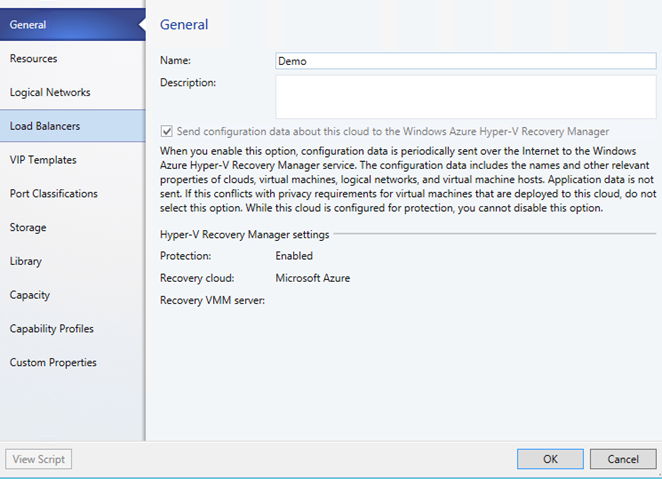
After you have enabled the protection in Azure you should see in VMM that the cloud is enabled got protection:
Now when I select a virtual machine that is part of the Cloud that we enabled for protection I have the option to enable Microsoft Azure Site Recovery:
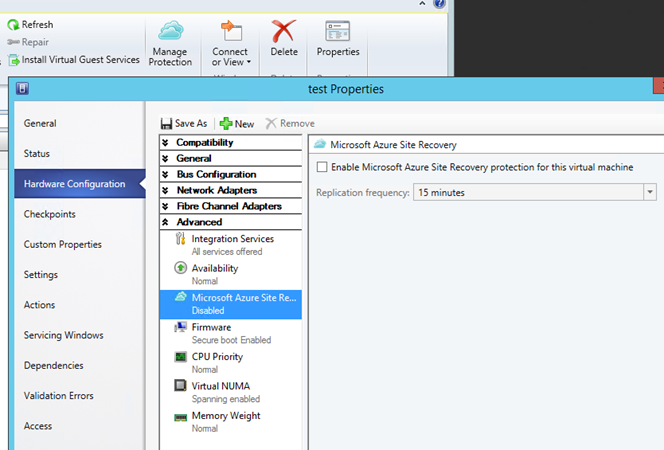
Be aware that at his moment only Generation 1 virtual machine are supported in Azure Site Recovery. In the next post we will look at how the protection is configured in Azure and how to run a test failover.