
Welcome back on part 4 of the blog series for installing highly available Azure Pack Websites Cloud.
Part I: Introduction and installing the first servers
Part II Adding secondary Website Controller
Part III: Adding Website Front Ends and Publishers
Part IV: Adding Website Worker Roles
Part V: Post configuring Azure Pack Websites
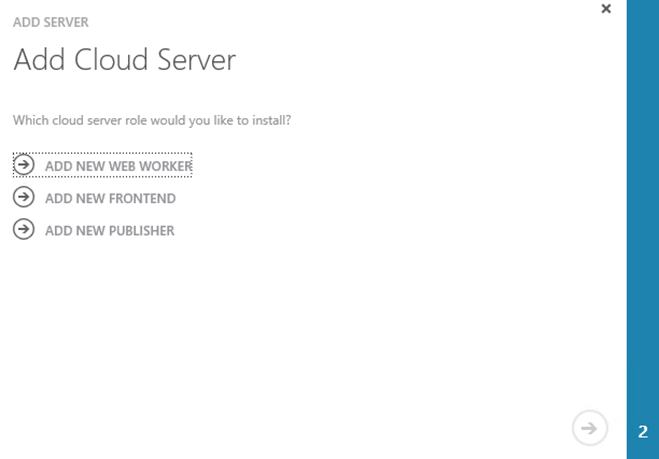
In this blog post we are going to add the Web Worker Roles. This is actually a pretty straight forward job to do. Provision the boxes add the accounts as describe in the first post and go to the Azure Pack Admin Portal.
From there go to websites cloud and click on add role. Select Add new Web Worker and choose next:
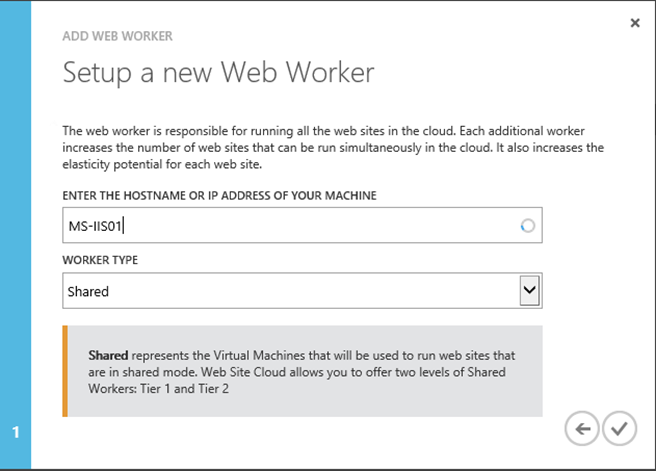
Specify the name or an ip address of the worker you are adding. Also specify the type for the worker. You have the option for shared or dedicated workers. When you add dedicated workers you need to specify a size for the worker. Then hit the finish button to start the deployment:
In the portal you have to option to keep track of the deployment:

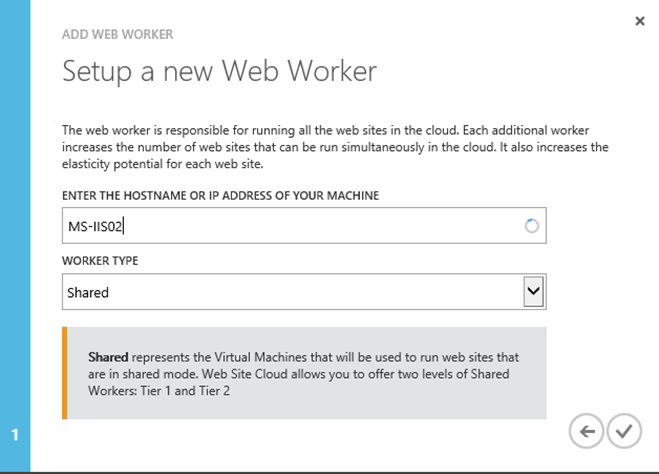
For the new worker it is the same process:
After a while the status should be ready and you have 2 workers added to your environment

If your deployments is hanging on deploying the MVC update take a look at this thread on MSDN: