
This is a follow up on How to install the Cisco Nexus 1000v in a Hyper-V environment. In the last post we installed the VMM provider, created and deployed the VSM template. Now we are going to install the both VSM modules. So here we go!
Boot the VM’s we created earlier:

(Settings might be different according to your organization policy or network topology.)
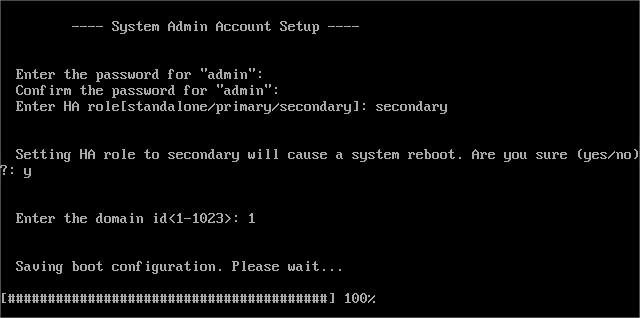
Enter an admin password.
Enter HA Role. In the first VM we create the Primary
Enter a domain id. I use 1 (use the same id for primary and later for the secondary node)

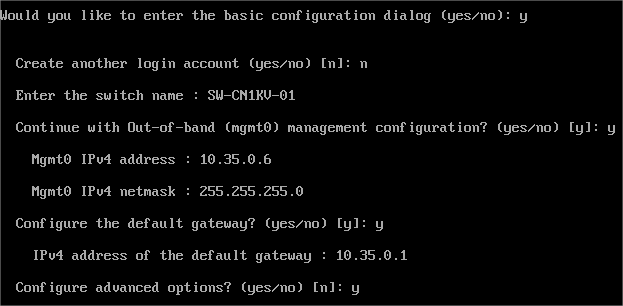
enter basic configuration: y
create another account: n
switch name: SW-CN1KV-01
continue with mgt0 configuration:y
ip address, mask and gateway: (give your own values)
Configure advanced options: y
configure advanced ip options:y
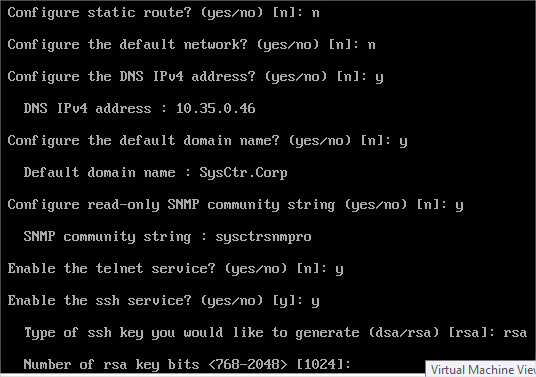
Configure static route:n (not in my case)
Configure default network: n
Configure DNS: y (10.35.0.46)
Configure domain name: y (SysCtr.Corp)
Configure SNMP Read only: y (sysctrsnmpro)
Enable telnet: y
Enable ssh: y
SSH key type: rsa
RSA key bits: 1024
Configure ntp: 10.35.0.46
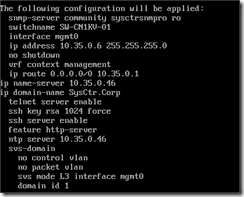
Config overview:

edit config: n
save config : y
![]()
now we can login to the switch via telnet or ssh.
Do the same config for the second VSM VM. Be aware to setup the HA mode as secondary and domain id:1 :
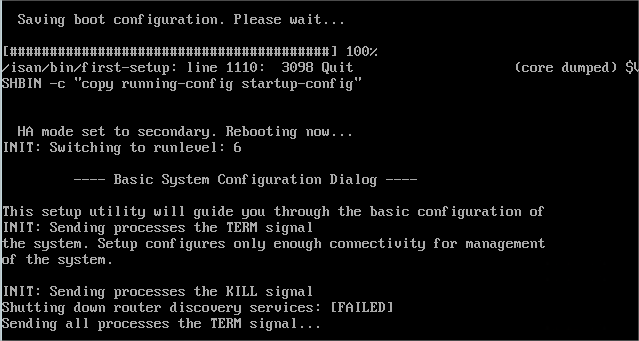
After the reboot you see that you are logged onto the standby node:
![]()
When you setup a putty session to your switch ip and run the command sh module you should see the 2 VSM:
![]()
in the next post we are going to configure the switch ![]()