
Welcome back on part 3 of the blog series for installing highly available Azure Pack Websites Cloud.
Part I: Introduction and installing the first servers
Part II Adding secondary Website Controller
Part III: Adding Website Front Ends and Publishers
Part IV: Adding Website Worker Roles
Part V: Post configuring Azure Pack Websites
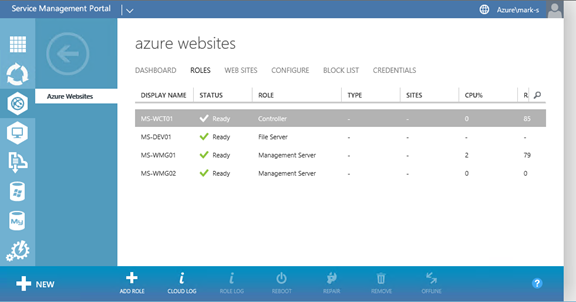
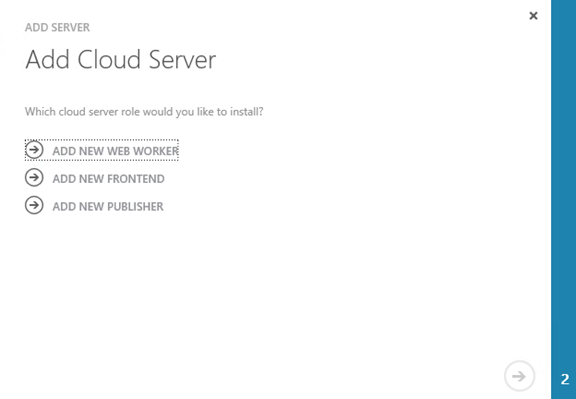
In this blog post we are going to continue the blog series on implementing Windows Azure Pack Websites and today we are going to install the Frontend servers and the Publisher servers. Let’s start with the Frontend. On the Azure Pack Admin portal in the cloud roles overview click on add role:
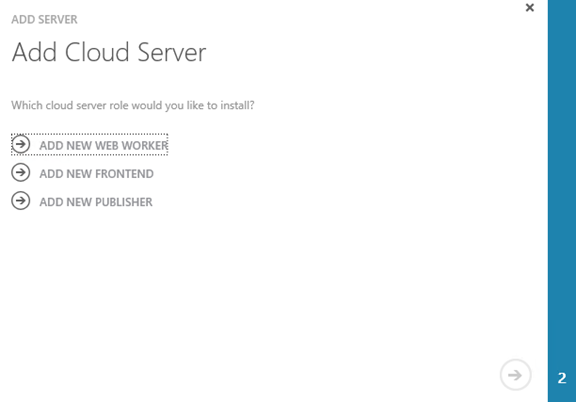
Next choose Add new Frontend:
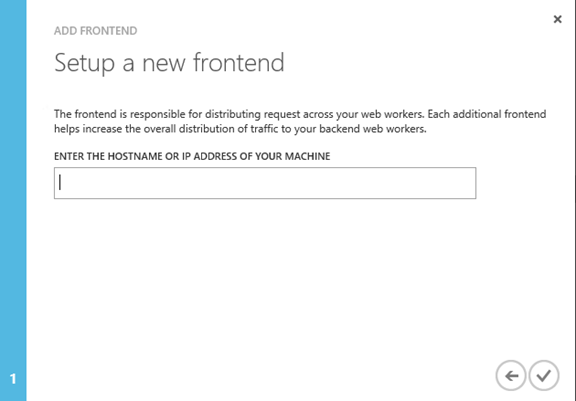
Enter the hostname or ip address for the Frontend server:
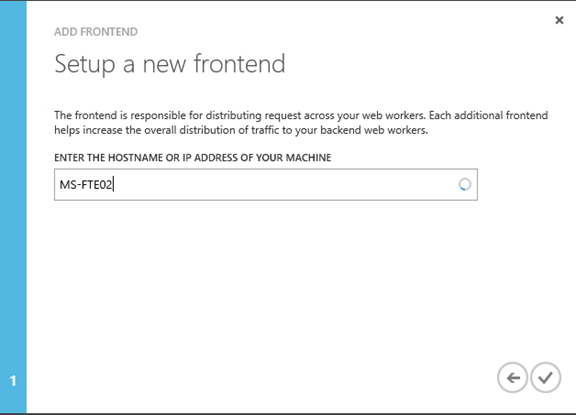
When added repeat the same steps for the MS-FTE02:
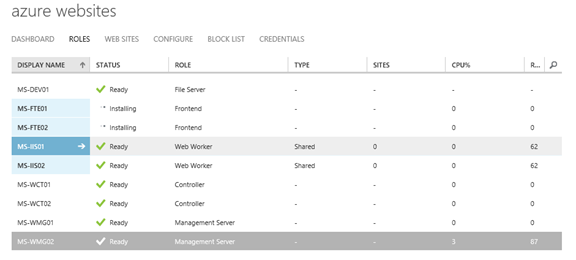
You will notice in the roles overview that the MS-FTE01 and MS-FTE02 are in an installing state.
The next step is to add the Publishers. Choose Add new Publisher:
Enter the name of the Publisher server:
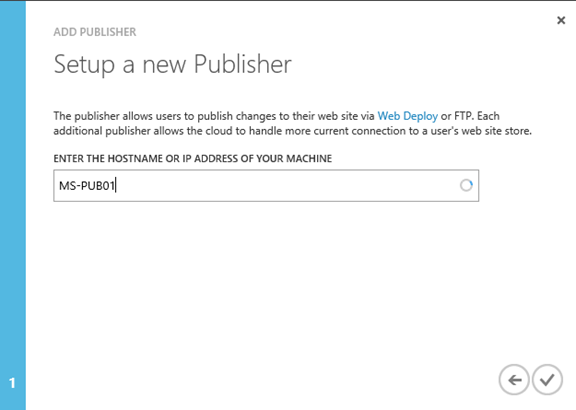
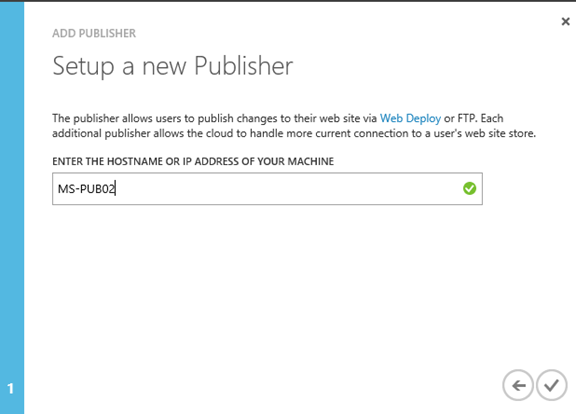
And next step is to add the second Publisher server:
Now for the loadbalancing we need to set it up for the Front end and the publishers. They both require the same steps but at the port section there is a small difference. Open NLB Manager and connect to the first server. Then click next:
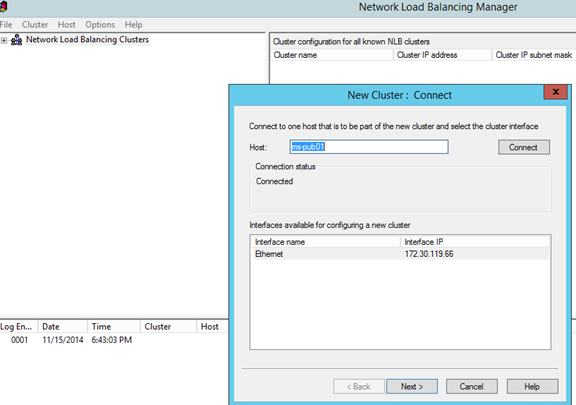
Click next:

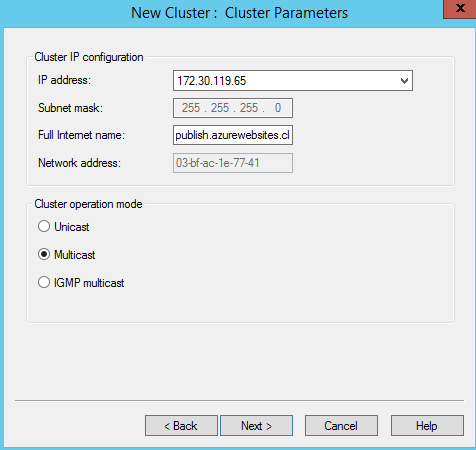
Specify the cluster ip address:
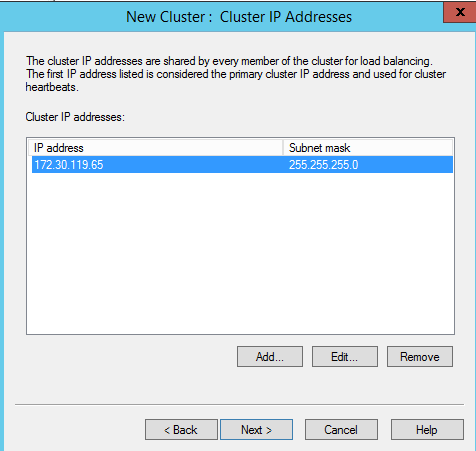
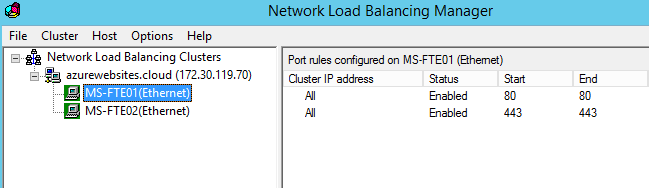
the internet name for my Publisher is publish.azurewebsites.cloud. For my Frontend NLB setup I used azurewebsites.cloud and ip address 172.30.119.70.
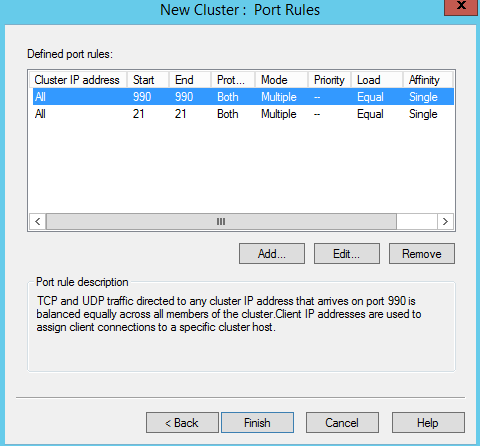
For the Publisher you need to load balance ports 990 and 21. For the Frontend I have setup the ports 80 and 443

Now add the second node to the cluster by right click on the cluster name and the second node. Do this for the Publisher and the Frontend.
Click Finish to finalize the setup. The Frontend will end up like below:
Now we have configured the Frontends and the Publishers! Next step is to add worker roles what we will discuss in the next blog post